DIY Home Repairs for Confident Beginners: A Complete Guide
Introduction
Ready to tackle DIY home repairs with confidence? This comprehensive guide has you covered. From simple plumbing fixes to electrical troubleshooting, we’ll equip you with the knowledge and skills to handle common household issues like a pro.
Essential Tools and Safety Measures
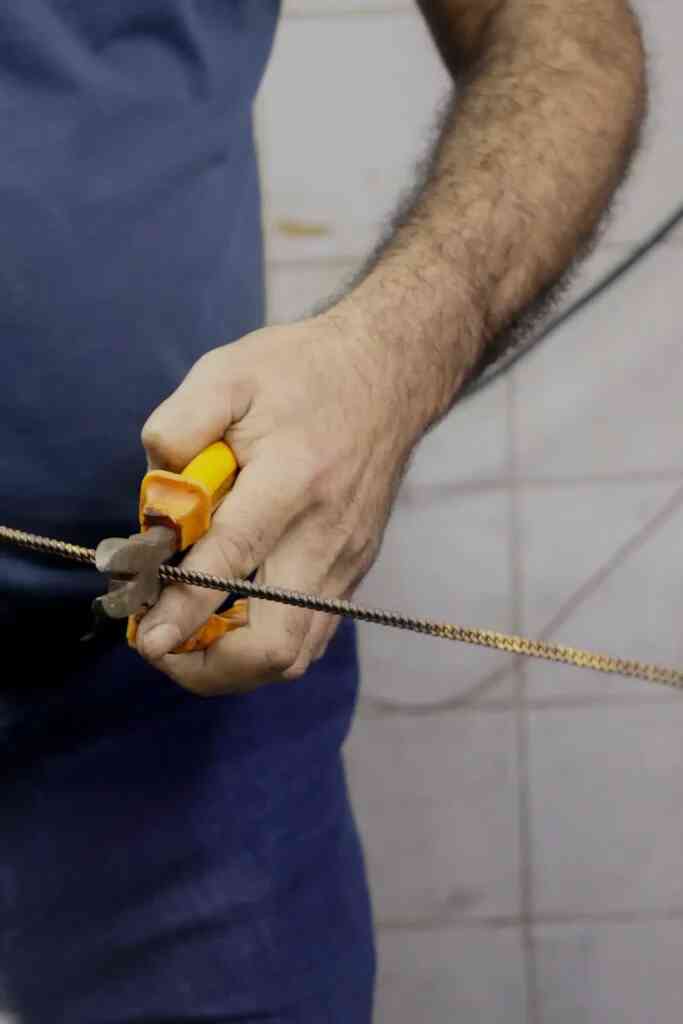
Before diving into repairs, gather essential tools like screwdrivers, wrenches, pliers, and a toolbox. Safety first! Wear protective gear like gloves, goggles, and face masks when dealing with hazardous materials or electrical work.
Basic Plumbing Repairs
1. Leaky Faucets:
Tighten loose handles or replace worn-out washers to stop faucet drips. Check for leaks under the sink and tighten connections if necessary.
2. Clogged Drains:
Clear minor clogs using a drain snake or chemical drain cleaners. For stubborn clogs, consider hiring a professional.
3. Running Toilet:
Replace the flapper valve or adjust the fill valve to stop a running toilet. Check for leaks around the base of the toilet.
Simple Electrical Repairs
1. Troubleshooting Power Outages:
Check circuit breakers or fuses for tripped switches or blown fuses. Reset or replace them as needed.
2. Replacing Light Fixtures:
Turn off the power, remove the old fixture, and connect the wires of the new fixture. Securely mount the fixture and restore power.
3. Installing Ceiling Fans:
Follow the manufacturer’s instructions to mount the fan securely. Connect the wires and ensure proper grounding before turning on the power.
Drywall Repairs
1. Patching Holes:
Cut a square or rectangular patch to fit the hole. Apply joint compound, let it dry, and sand smooth. Apply a second coat and sand again for a seamless finish.
2. Repairing Cracks:
Widen the crack with a utility knife and fill it with joint compound. Let it dry, sand smooth, and apply a second coat if needed.
Painting and Decorating
1. Preparing Walls for Painting:
Wash walls with a mild detergent, repair any holes or cracks, and apply painter’s tape to protect trim and fixtures.
2. Choosing the Right Paint:
Select the appropriate paint type (latex or oil-based) and finish (matte, satin, or glossy) for your project.
3. Painting Techniques:
Use a paintbrush for edges and corners, and a roller for larger areas. Apply thin, even coats, allowing each coat to dry completely before applying the next.
Conclusion
With a little preparation and the right tools, you can confidently tackle many common home repairs. Remember to prioritize safety and don’t hesitate to seek professional help for more complex issues. As you gain experience, you’ll become more comfortable handling a wider range of repairs, saving money and adding value to your home.
So, grab your toolbox and get ready to transform your home into a well-maintained haven. Happy DIYing!
