How to Build a PC: A Comprehensive Reddit-Inspired Guide

Building a PC can seem like a daunting task, but with the right guidance, it’s an achievable and rewarding experience. This guide, drawing inspiration from the vast knowledge shared on Build: The Foundation of Success
Before you even think about touching a screwdriver, meticulous planning is crucial. This stage involves defining your needs, setting a budget, and selecting compatible components. Reddit communities are invaluable for this phase, offering real-time advice and user experiences with various hardware.
1.1 Defining Your Needs and Budget
What will you primarily use your PC for? Gaming, content creation, general productivity, or a mix of everything? Your intended use will dictate the type and power of components you’ll need. For instance, gamers might prioritize a powerful GPU and high refresh rate monitor, while content creators might focus on a CPU with more cores and faster RAM.
Budget is a significant constraint. Reddit users often share their builds at various price points, from budget-friendly options around $500 to high-end rigs exceeding $3000. A realistic budget will help narrow down your component choices and prevent overspending.
1.2 Component Selection: The Heart of Your PC
The core components of any PC build include:
- CPU (Central Processing Unit): The brain of your computer. Popular choices include Intel’s Core series and AMD’s Ryzen series. Consider core count, clock speed, and whether it has integrated graphics.
- Motherboard: Connects all components. Ensure it’s compatible with your chosen CPU (socket type) and RAM, and has the necessary features (e.g., Wi-Fi, number of M.2 slots).
- RAM (Random Access Memory): For multitasking and quick data access. DDR5 is the current standard for new builds, with 16GB being a minimum for gaming and 32GB recommended for more demanding tasks.
- GPU (Graphics Processing Unit): Essential for gaming and graphically intensive tasks. NVIDIA GeForce RTX and AMD Radeon RX are the primary choices.
- Storage (SSD/HDD): Solid State Drives (SSDs), particularly NVMe M.2 SSDs, offer significantly faster boot and load times compared to traditional Hard Disk Drives (HDDs). A 1TB SSD is a common starting point.
- Power Supply Unit (PSU): Provides power to all components. Ensure it has enough wattage for your build with some headroom, and choose a reputable brand with a good efficiency rating (e.g., 80+ Bronze, Gold).
- PC Case: Houses all your components. Consider size (ATX, Micro-ATX, Mini-ITX), airflow, and aesthetics.
- CPU Cooler: While some CPUs come with stock coolers, aftermarket air or liquid coolers offer better performance and lower temperatures, especially for higher-end CPUs.
PC Part Picker is an indispensable tool recommended across Reddit for checking component compatibility and comparing prices. It helps avoid costly mistakes like purchasing incompatible parts.
2. Gathering Your Tools and Workspace
Before you begin assembly, ensure you have the necessary tools and a suitable workspace. This will make the process smoother and safer.
2.1 Essential Tools
- Phillips Head Screwdriver: The most crucial tool. Magnetic tips are highly recommended to prevent dropping screws.
- Anti-Static Wrist Strap: Essential for preventing electrostatic discharge (ESD), which can damage sensitive components.
- Zip Ties or Velcro Straps: For cable management.
- Flashlight or Headlamp: To illuminate tight spaces within the case.
- Small Tray or Container: To keep screws organized.. Find out more about how to build a pc reddit.
2.2 Setting Up Your Workspace
- Choose a well-lit, spacious area.
- Work on a non-carpeted surface if possible to minimize static electricity.
- Have all your components laid out and easily accessible.
- Keep component manuals handy for reference.
3. The Assembly Process: Step-by-Step
This is where the magic happens. Follow these steps carefully, referring to your component manuals as needed.
3.1 Preparing the Case
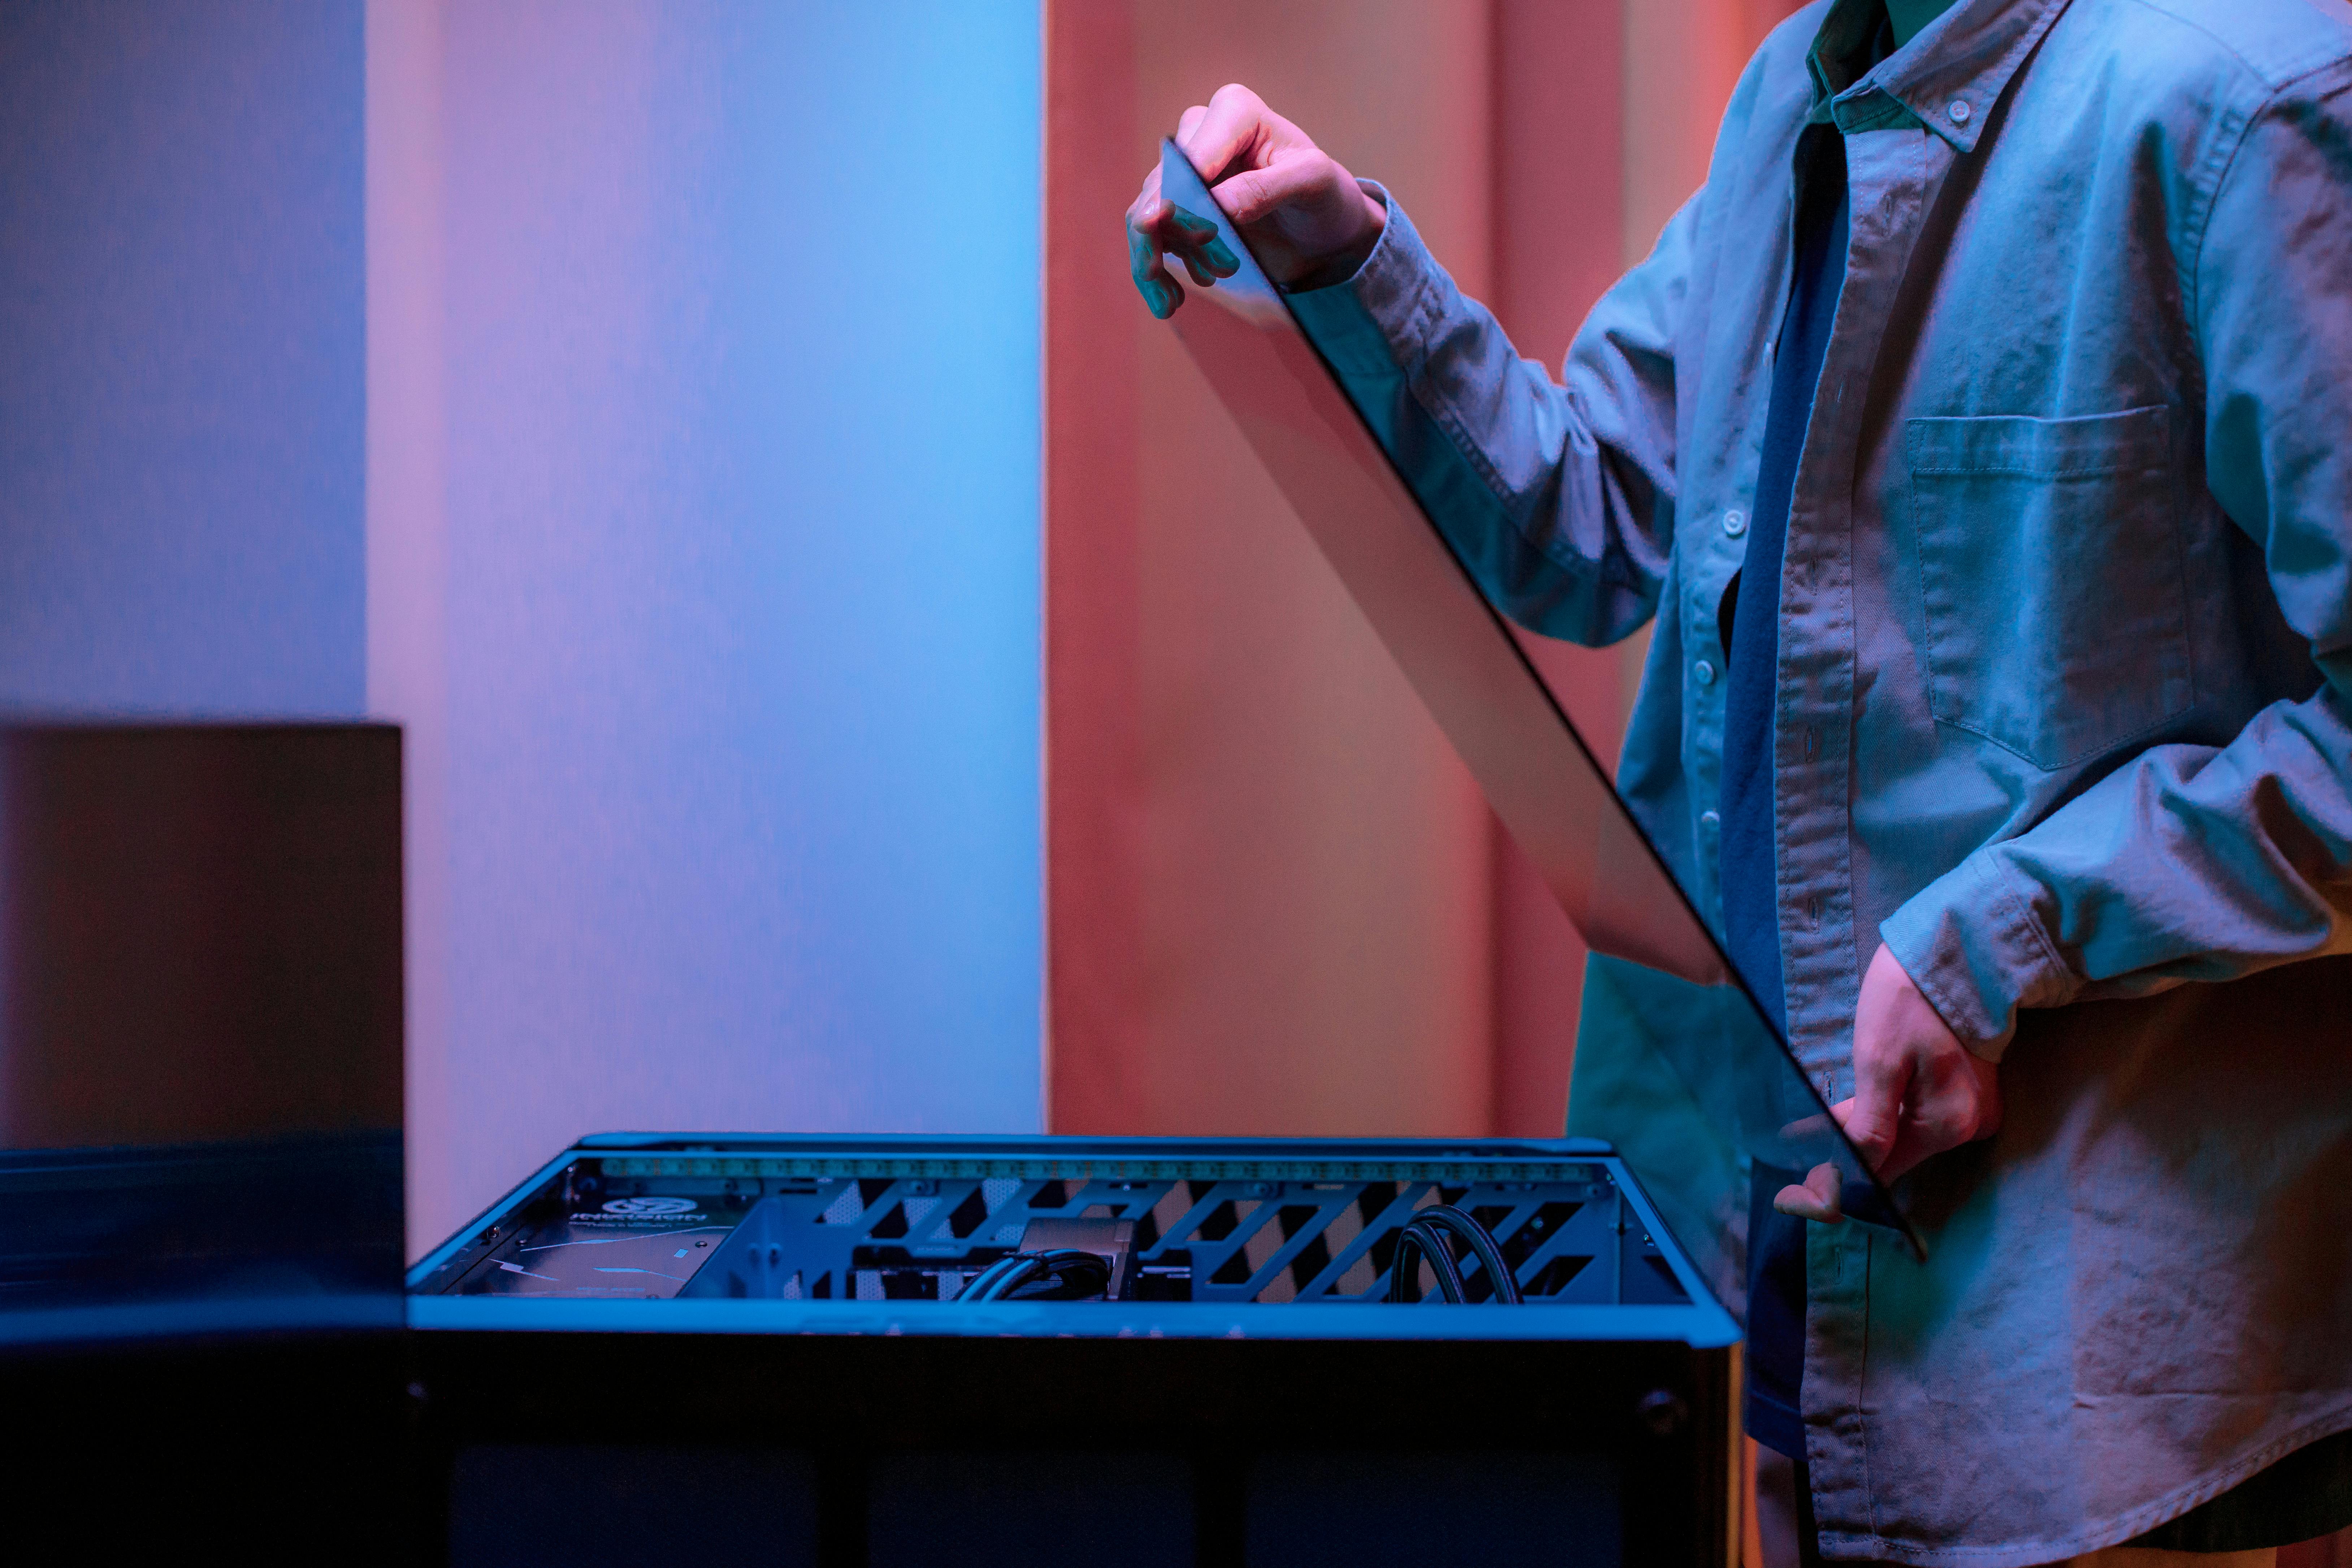
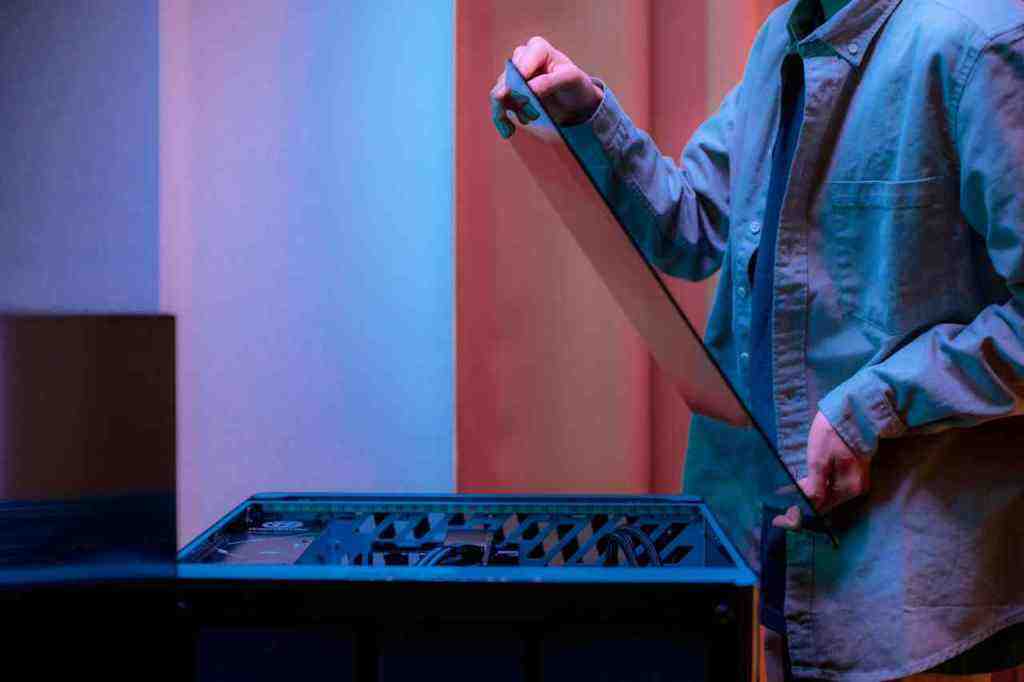
- Open the PC case and remove any side panels.
- Install motherboard standoffs if they are not pre-installed. These small screws elevate the motherboard, preventing it from shorting against the case.
- Install the I/O shield (the metal plate with cutouts for your motherboard’s ports) into the back of the case before installing the motherboard. This is a common mistake to forget.
3.2 Installing the CPU and RAM on the Motherboard
It’s often easier to install the CPU and RAM before mounting the motherboard in the case.
- Open the CPU socket lever on the motherboard.
- Align the arrow or triangle on the CPU with the corresponding mark on the socket. Gently place the CPU into the socket; it should drop in without force.
- Close the CPU socket lever.
- Install the CPU cooler according to its manual. Apply thermal paste if it’s not pre-applied to the cooler.
- Open the clips on the RAM slots.
- Align the notch on the RAM stick with the notch in the slot and press down firmly on both ends until the clips snap into place. Consult your motherboard manual for the correct slots for dual-channel memory.
3.3 Mounting the Motherboard in the Case
- Carefully align the motherboard with the standoffs in the case, ensuring the I/O shield ports line up correctly.
- Secure the motherboard with screws, starting with the corners. Do not overtighten.
3.4 Installing the GPU
- Open the retention clip on the primary PCIe slot (usually the top one).. Find out more about explore reddit pc build guide.
- Remove the corresponding expansion slot covers from the back of the case.
- Align the GPU with the PCIe slot and press down firmly until it clicks into place.
- Secure the GPU to the case with screws.
3.5 Installing Storage Devices (SSD/HDD)
- Mount your M.2 NVMe SSD directly onto the designated M.2 slot on the motherboard, securing it with a small screw.
- If using SATA SSDs or HDDs, mount them in the drive bays according to your case’s instructions and connect SATA data cables to the motherboard and SATA power cables from the PSU.
3.6 Installing the Power Supply Unit (PSU)
- Mount the PSU in its designated spot in the case, typically at the bottom or top rear.
- Ensure the PSU fan is oriented for proper airflow (usually facing down if there’s a vent on the bottom of the case).
3.7 Connecting Power Cables
This is a critical step where many beginners make mistakes.
- Connect the 24-pin ATX power connector to the motherboard.
- Connect the 8-pin (or 4+4 pin) EPS CPU power connector to the motherboard, usually located near the CPU socket.
- Connect PCIe power cables to your GPU if required. Ensure you use the correct cables that came with your PSU, as mixing cables can damage components.
- Connect SATA power cables to your SSDs and HDDs.
3.8 Connecting Front Panel Connectors
These small cables from the case (power button, reset button, USB ports, audio jacks) connect to specific pins on the motherboard. Refer to your motherboard manual for the correct placement, as this is a common point of confusion.
3.9 Cable Management
Tidy up your cables using zip ties or Velcro straps. Good cable management improves airflow and makes future upgrades or troubleshooting easier.
3.10 Final Checks and First Boot
- Double-check all connections to ensure they are secure.
- Ensure no loose screws or tools are left inside the case.
- Connect your monitor, keyboard, and mouse.
- Plug in the power cord and flip the PSU switch to ON.. Find out more about discover custom pc building steps.
- Press the power button on your case.
If everything is connected correctly, your PC should power on, and you should see the BIOS/UEFI screen on your monitor. If not, don’t panic; proceed to troubleshooting.
4. Troubleshooting Common Issues
It’s not uncommon for a new PC build to not boot immediately. Reddit communities are rife with troubleshooting advice.
4.1 No Power / No POST (Power-On Self-Test)
- Check PSU Switch: Ensure the switch on the back of the PSU is in the “ON” position.
- Reseat Components: Power off and unplug the PC. Reseat the RAM, GPU, and all power cables.
- CPU Power: Verify the 8-pin CPU power cable is correctly plugged into the motherboard.
- Motherboard Power: Ensure both the 24-pin ATX and 8-pin CPU power cables are fully seated.
- Front Panel Connectors: Incorrectly connected power button cables can prevent startup.
- Minimal Boot: Try booting with only the essential components: CPU, one stick of RAM, and the PSU.
4.2 Display Issues
- Monitor Connection: Ensure your monitor is plugged into the graphics card’s output, not the motherboard’s.
- GPU Power: Verify the GPU is receiving adequate power from the PSU.
- Reseat GPU: Remove and reinsert the graphics card.
4.3 Other Common Mistakes to Avoid
- Forgetting the I/O Shield: Install it before the motherboard.
- Incorrect RAM Slots: Consult your motherboard manual for dual-channel configuration.
- Thermal Paste Issues: Ensure proper application and that protective plastic is removed from the cooler’s base.
- CPU Cooler Fan Header: Connect the CPU cooler fan to the CPU_FAN header on the motherboard.
- Airflow Direction: Ensure case fans are oriented for proper intake and exhaust.
- Using Non-PSU Cables: Never mix PSU cables from different manufacturers.
- Connecting Monitor to Motherboard HDMI: Always connect to the GPU for display output.
- RAM Speed (XMP): Enable XMP (Extreme Memory Profile) in the BIOS to achieve advertised RAM speeds.. Find out more about understand pc component selection guide.
- Over-tightening Screws: Be gentle when installing components.
For more in-depth troubleshooting, resources like the flowchart shared on r/buildapc can be incredibly helpful.
5. Post-Build: Operating System and Drivers
Once your PC boots successfully, the next steps involve installing your operating system and necessary drivers.
5.1 Installing the Operating System
- Create a bootable USB drive with Windows or your preferred OS.
- Boot from the USB drive by accessing your BIOS/UEFI settings (usually by pressing DEL, F2, or F12 during startup).
- Follow the on-screen prompts to install the OS.
5.2 Installing Drivers
- Install essential drivers for your motherboard (chipset, audio, LAN) from the manufacturer’s website.
- Install the latest drivers for your GPU from NVIDIA or AMD’s website.
- Other peripheral drivers may also be necessary.
5.3 BIOS/UEFI Configuration
- Enable XMP/EXPO: This is crucial for ensuring your RAM runs at its advertised speed.
- Boot Order: Ensure your primary storage drive is set as the first boot device.
- Fan Curves: Adjust fan speeds for optimal cooling and noise levels.
6. Resources and Community Support
The PC building community is one of the most supportive online. Leverage these resources:
- Reddit: Subreddits like r/buildapc, r/pcmasterrace, r/buildmeapc, and r/PcBuild are excellent for asking questions, sharing your build, and getting advice.
- YouTube: Numerous channels offer detailed build guides, component reviews, and troubleshooting tutorials.
- PC Part Picker: An essential tool for compatibility checks and price comparisons.
- Manufacturer Websites: Always refer to the manuals and support pages for your specific components.
Building a PC is a journey of learning and problem-solving. By following this guide and utilizing the wealth of information available from the PC building community, you’ll be well-equipped to construct a powerful and personalized machine.
