
How to Build an Emergency Shelter: A Comprehensive Guide
Building an emergency shelter is a fundamental survival skill that can protect you from harsh weather, conserve body heat, and provide a safe space in a crisis. This guide covers essential principles and practical steps for constructing effective shelters using various methods and materials, from natural resources to improvised tools.
1. Understanding the Importance and Principles
An emergency shelter is your primary defense against the elements. Its main purposes are:
- Protection from Hypothermia/Hyperthermia: Preventing dangerous drops or rises in body temperature.
- Weather Resistance: Shielding you from wind, rain, snow, and sun.
- Psychological Comfort: Providing a sense of security and a base of operations.
- Conserving Energy: Reducing the metabolic effort required to stay warm or cool.
Key principles for effective shelter construction include:
- Location: Choosing a safe, strategic spot.
- Insulation: Trapping body heat and blocking external temperatures.
- Waterproofing: Keeping dry from precipitation.
- Windproofing: Blocking or deflecting wind.
- Size: Keeping it small enough to heat with body warmth but large enough to move in.
- Ventilation: Ensuring breathable air, especially if using fire.
2. Planning Your Shelter: Assessment and Location Selection
Before you start building, take time to assess your situation. Consider:
- The Environment: What natural resources are available? What is the terrain like?
- The Weather: What are the immediate threats (wind, rain, extreme cold/heat)?. Find out more about how to build an emergency shelter from natural materials.
- Available Tools/Materials: What do you have on hand (knife, tarp, rope) versus what can you improvise?
- Time of Day: How much daylight do you have left?
Choosing the Best Location:
A well-chosen location is critical for safety and effectiveness:
- Avoid Hazards:
- Waterways: Stay away from dry creek beds, riverbanks, and low-lying areas prone to flash floods.
- Dead Trees/Branches (Widowmakers): Do not build under trees with dead or unstable limbs that could fall.
- Rockfalls/Landslides: Avoid steep slopes or areas directly below cliffs.
- Animal Trails: Don’t set up camp directly on major animal paths.
- Consider Natural Features: Look for natural windbreaks (hills, large rocks, dense vegetation), and potential building materials.
- Drainage: Choose slightly elevated ground to prevent water from pooling inside your shelter.
- Proximity to Resources: If possible, be near water sources (but not too close to flood risk) and fuel for fire.
- Concealment (if needed): For safety or hunting, consider visibility.
3. Essential Tools and Materials
Ideally, you’ll have a basic survival kit, but improvisation is key.
Improvised and Natural Materials:
- Structural Support: Sturdy branches, fallen logs, saplings.
- Insulation & Roofing: Dry leaves, pine needles, moss, grass, bark, sod, snow.. Find out more about survival shelter construction step-by-step guide guide.
- Waterproofing: Large leaves, bark sheets, layers of sod.
- Binding: Vines, flexible roots, long grasses, strips of bark, cordage (if you have it).
Man-Made Materials (If Available):
- Tarp/Poncho: Extremely versatile for quick shelters.
- Rope/Cordage: For lashing and securing.
- Duct Tape: A survivalist’s best friend for repairs and fastening.
- Plastic Sheeting/Trash Bags: For waterproofing layers or ground cover.
- Emergency Blanket: For insulation inside the shelter.
Tools (If Available):
- Knife: For cutting, shaping, and preparing materials.
- Saw/Axe: For processing larger wood.
- Shovel: For digging, moving snow or earth.
4. Types of Emergency Shelters and Construction Methods
The type of shelter you build will depend on your resources, the environment, and the time you have.
A. Natural Shelters
Utilize existing geological features. Always check for inhabitants (animals, insects) before occupying.
- Overhangs/Rock Shelters: Provide immediate protection. Improve by blocking the open side with rocks, branches, or debris.
- Dense Coniferous Trees: The lower branches of large fir or spruce trees can offer significant protection from rain and snow. Clear the ground underneath and reinforce as needed.
- Caves: Offer excellent protection but require thorough inspection for safety and occupants. Ensure good ventilation if using fire.. Find out more about improvised survival shelter building techniques tips.
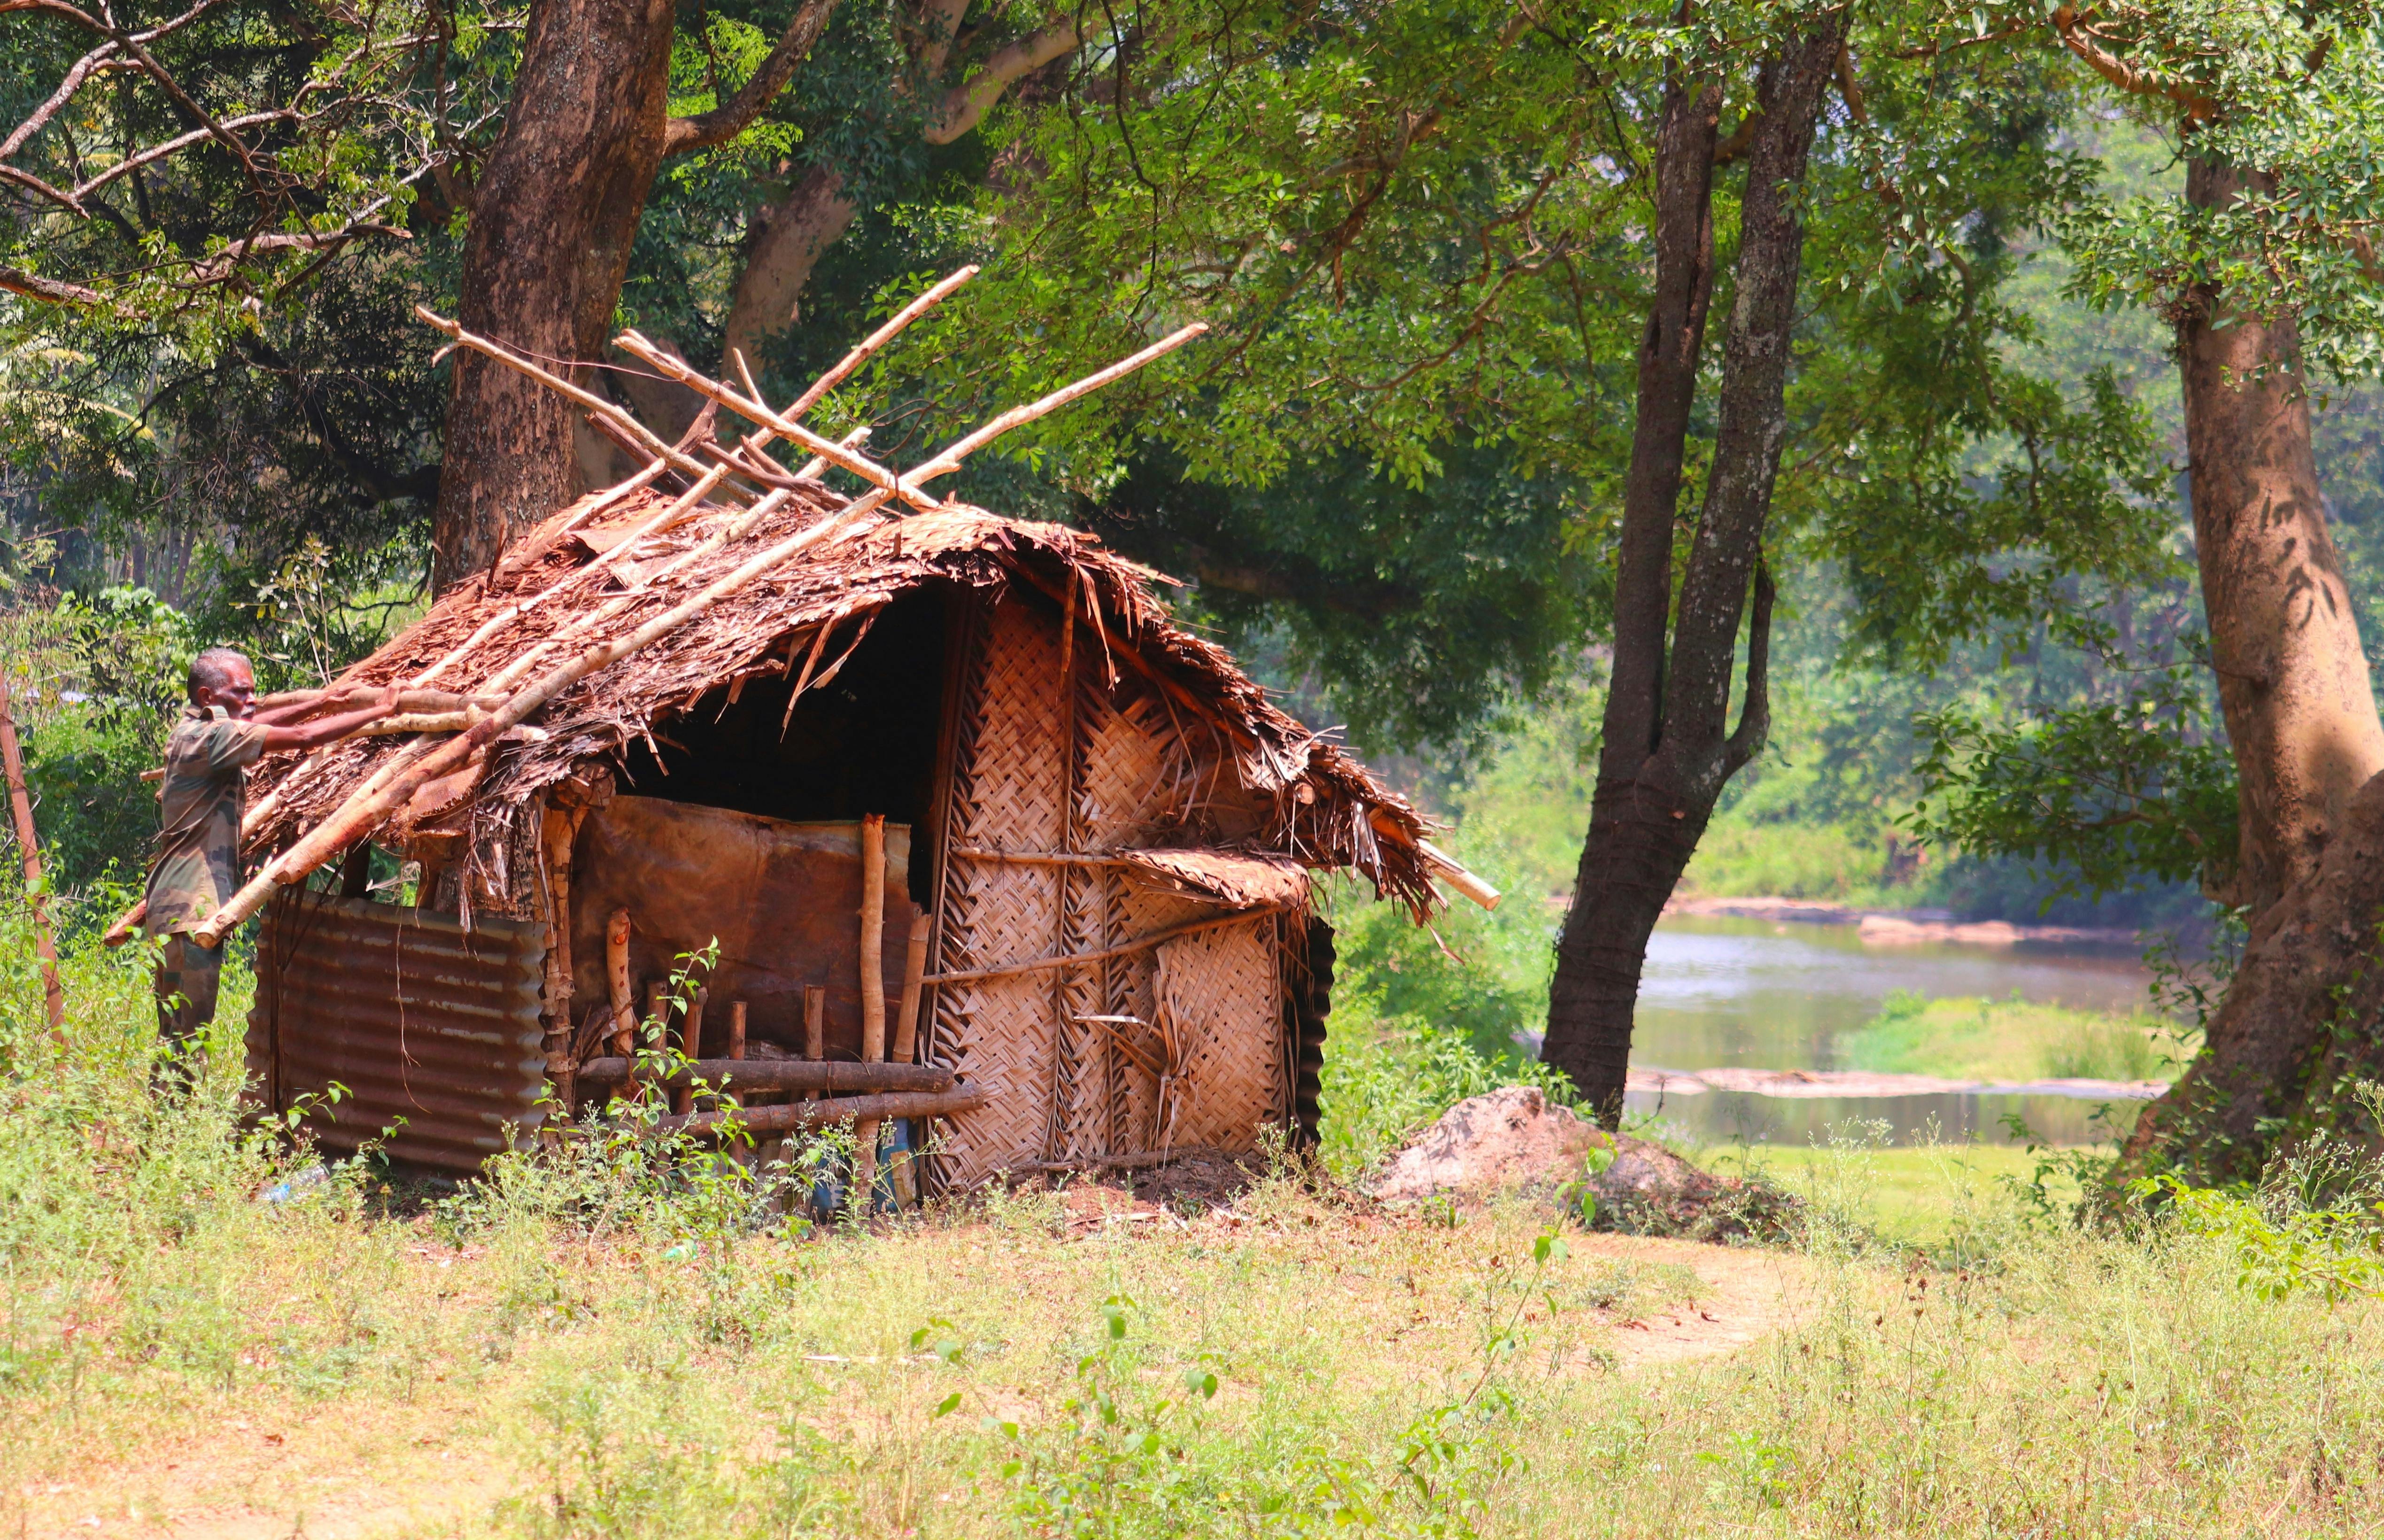
B. Improvised Shelters
These are built from scratch using available materials.
1. The Lean-To Shelter
Simple, quick, and good for moderate weather or as a temporary windbreak.
Materials:
- One strong, long pole (ridgepole)
- Several shorter, sturdy poles
- Abundant insulating and roofing materials (leaves, branches, bark)
Steps:
- Find Support: Locate two trees spaced appropriately, or use a sturdy upright log/rock as a prop.
- Place Ridgepole: Lay the long pole horizontally between the two trees, or prop it securely at an angle against your support. Ensure it’s high enough to sit or lie comfortably under.
- Create Ribs: Lean the shorter poles against the ridgepole at an angle, close enough together to form a wall. Angle them to shed rain effectively.
- Add Covering: Start layering insulating and roofing materials from the bottom up, overlapping like shingles. Pack it densely to block wind and water. Use boughs, leaves, moss, grass, or bark.
- Improve: Add a wall on the windward side if necessary, and insulate the ground inside.
2. The Debris Hut Shelter
Excellent for cold weather as it relies on thick insulation. It’s essentially a small, insulated den.
Materials:
- One strong pole for the ridge (approx. 6-8 feet long)
- Many smaller branches for ribbing. Find out more about best location for a survival shelter site selection strategies.
- Massive amounts of dry insulating material (leaves, pine needles, grass). Aim for at least 2-3 feet of thickness.
Steps:
- Set Ridgepole: Prop one end of the main pole on a stump, rock, or Y-shaped branch, and rest the other end on the ground, creating a small A-frame-like structure. The opening should be just large enough for you to crawl into.
- Add Ribbing: Lean smaller branches along both sides of the ridgepole, angling them to create a sloped roof and walls. Space them closely.
- Pile Debris: This is the crucial step. Gather an enormous amount of dry, fluffy material (leaves are ideal). Pile it thickly over the entire structure, ensuring at least 2-3 feet of material for effective insulation. Pack it down gently.
- Create Entrance: Make the entrance very small. You can create a plug from more debris or a packed bundle of leaves/grass to seal it from the inside.
- Insulate Floor: Lay a thick layer of the same insulating material on the floor inside the hut.
3. The A-Frame Shelter
A more enclosed structure than a lean-to, offering better protection.
Materials:
- Two strong poles of equal length
- One longer pole (ridgepole)
- Many smaller poles for the sides
- Insulating and roofing materials
- Cordage (optional, for lashing)
Steps:
- Form the A: Tie the two equal-length poles together at one end, creating an ‘A’ shape. Spread the base wide enough for your needs.
- Add Ridgepole: Lay the longer ridgepole across the ‘V’ of the ‘A’ and secure it. If using a single ‘A’ frame, prop the other end of the ridgepole on a horizontal support or the ground.. Find out more about How to build an emergency shelter from natural materials overview.
- Add Ribs: Lean smaller poles against the ridgepole on both sides, creating the frame of the shelter.
- Cover: Layer debris, bark, or other materials thickly from the bottom up, ensuring overlap for waterproofing.
- Close one end: You can leave one end open or partially close it to create a more enclosed space.
4. Tarp Shelter
Extremely quick and effective if you have a tarp. Many configurations are possible.
Materials:
- Tarp or Poncho
- Rope/Cordage
- Stakes (improvised or carried)
- Trees or poles for support
Common Tarp Configurations:
- Lean-to: Tie one edge of the tarp to a ridge line (rope between two trees or on a pole) and stake out the other edge to the ground at an angle.
- A-Frame: Fold the tarp in half. Tie the folded edge to a ridge line, or create a ridge by supporting the center with poles. Stake out the sides.
- Diamond: Stake out all four corners to the ground, creating a low profile shelter.
Tips for Tarp Shelters:
- Angle the tarp sharply to allow rain to run off effectively.
- Use natural features like logs or rocks to create supports.
- Ground insulation is still important; place leaves or a groundsheet inside.. Find out more about Survival shelter construction step-by-step guide definition guide.
- Consider a small trench around the perimeter to divert water.
C. Snow Shelters (For Winter Survival)
These require specific conditions and knowledge but are vital in snowy environments.
- Snow Cave: Digging into a deep snowdrift or bank. Entrance should be small and lower than the sleeping area to trap heat. Requires stable snow.
- Quinzee: Piling snow into a large mound and letting it sinter (harden). Then, hollowing out the inside. A stick indicator is used to ensure walls are a minimum thickness (around 1 foot).
Winter Shelter Safety: Snow shelters can be prone to collapse and CO2 buildup. Ensure ample ventilation. Never build a fire inside a small, enclosed snow shelter without extreme caution and a well-designed ventilation system.
5. Key Construction Techniques and Considerations
Insulation is Paramount
For cold weather, the thickness of your insulating material is more important than the type. Dry materials are far more effective insulators than wet ones. Aim for at least 1-2 feet of packed, dry debris for survival in freezing temperatures.
Waterproofing
Overlapping materials like shingles is crucial. Bark, large leaves, and tightly packed grass can shed water. A steeply pitched roof helps prevent pooling. Tarps are naturally waterproof.
Ventilation
If you plan to use a fire within or near your shelter, ventilation is critical. Without it, you risk carbon monoxide poisoning. Ensure a constant flow of fresh air, especially if using a fire inside. For enclosed shelters, a small vent at the top and an opening at the bottom can create a convection current.
Ground Insulation
The ground can draw heat away from your body very quickly. Always create a thick layer of insulating material (leaves, pine boughs, grass) on the floor of your shelter.
Entrance Management
Keep entrances small to minimize heat loss and wind penetration. Use a door plug or a windbreak.
6. Safety Precautions During and After Construction
Safety First:
- Structural Integrity: Test the stability of your shelter. Ensure it can withstand wind and potential snow load.
- Fire Safety: If using fire, maintain a safe distance from flammable materials. Clear a perimeter around an outdoor fire pit. Never leave a fire unattended.
- Wildlife Awareness: Be mindful of potential animal inhabitants. Secure food away from your shelter.
- Tools: Handle knives, saws, and axes with extreme care.
- First Aid: Have a basic first aid kit available for cuts, scrapes, or injuries.
7. Maintaining Your Shelter
Even the best shelter needs maintenance. Regularly check for:
- Gaps in insulation or roofing.
- Structural weaknesses caused by weather.
- Water leaks.
- Blockages in ventilation.
Reinforce and repair as needed to ensure it remains effective.
Conclusion
Building an emergency shelter is a vital skill that can significantly increase your chances of survival. By understanding the principles of location, insulation, and protection, and by practicing various construction techniques, you can prepare yourself for a wide range of emergency scenarios. Remember that practice in a non-emergency situation is the best way to hone these life-saving abilities.